Before you pack
Dress for the whole experience
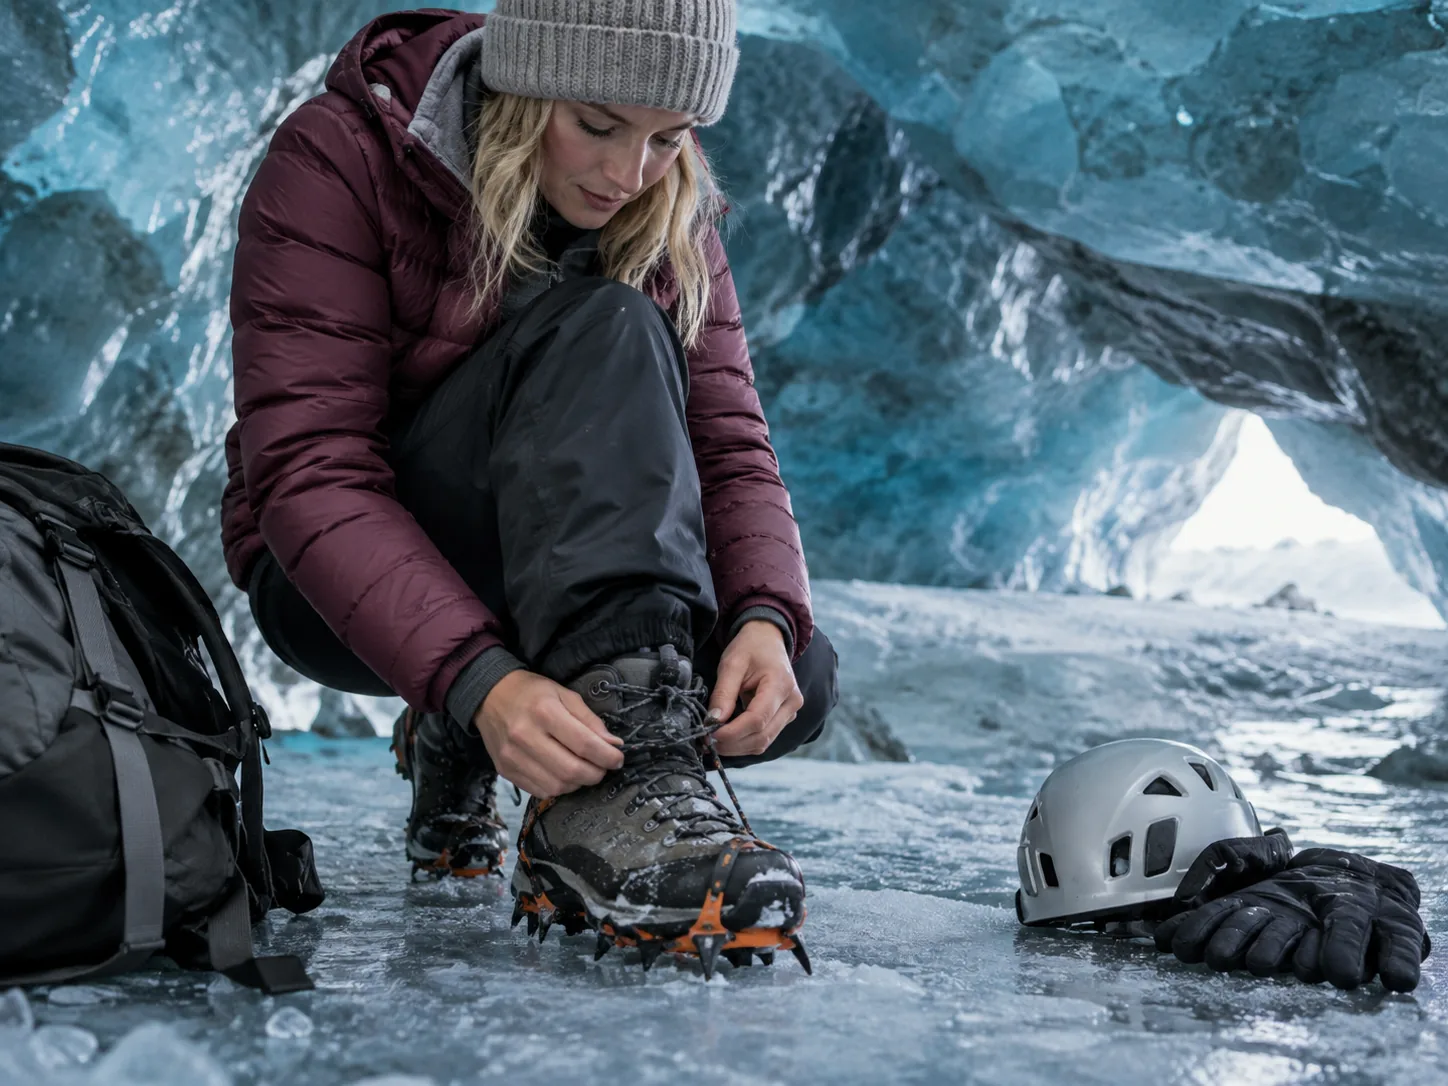
For a Crystal Ice Cave tour, start with warm adjustable layers, waterproof outerwear and sturdy hiking boots. You are dressing for the journey to the glacier, the walk and the stops along the way, not just a few photographs inside the ice.
01 · Insulation
Stay warm
Wear a thermal layer next to your skin and add insulation you can take off while walking. Keep one extra layer within reach.
02 · Weather protection
Stay dry
Pack a waterproof jacket and trousers. A warm coat alone does not solve wet legs, wind or dripping water.
03 · Footwear
Start with boots
Check your operator’s footwear requirements before travelling. The supplied traction equipment must fit your boots correctly.
You bring your clothing. The guide provides the technical equipment listed for your chosen tour. Boot hire and waterproof clothing are separate questions, not automatic inclusions.
Get this right first
Footwear
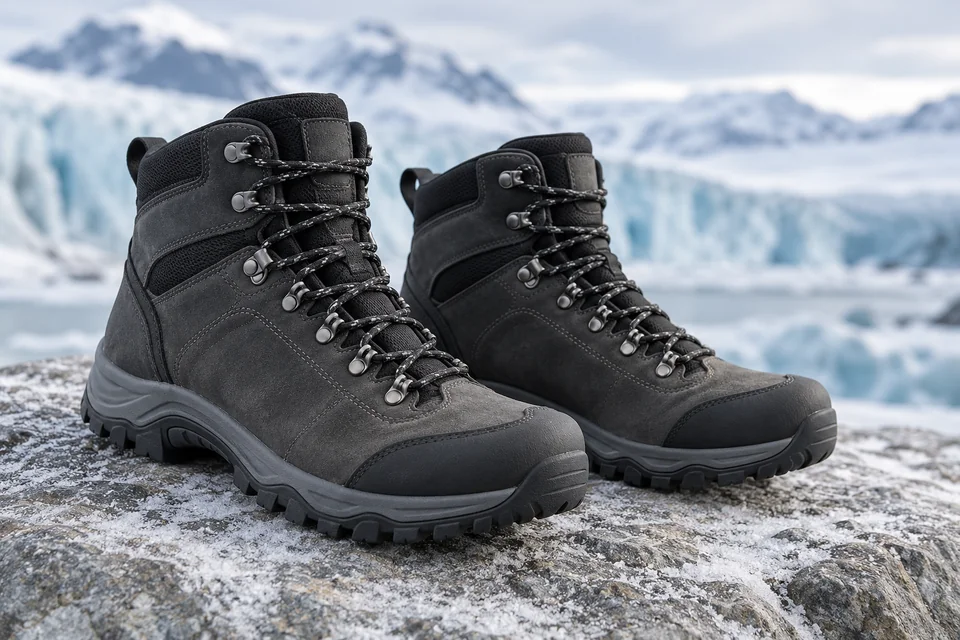
Choose waterproof hiking boots with ankle support and soles suitable for the equipment used on your tour. Gravel, wet ground, snow and glacier ice can all be part of the approach. A boot that is comfortable on a pavement is not necessarily suitable here.
Fit
Try the boots with the socks you will actually wear. Your heel should feel secure, while your toes still have room. Do this before the departure morning.
Support
Avoid soft trainers, smooth-soled fashion boots and footwear that slips around your foot. Very bulky or flexible snow boots need the operator’s approval.
Equipment
Let the guide fit and check the supplied crampons or spikes. Do not assume your own traction aids are an acceptable substitute for the tour’s equipment.
Can you rent boots?
Policies differ. Local Guide describes hiking-boot rental, while the Arctic Adventures Crystal tour FAQ excludes this tour from its general clothing-rental service. Confirm the product, your size and collection arrangements directly before relying on rental.
Do not leave footwear problems until check-in. Send the operator a photograph or the boot model beforehand if you are uncertain. Equipment included in the ticket does not mean every type of shoe will work.
A flexible clothing system
Build your layers
The aim is to stay comfortable while moving and when the group pauses. Several useful layers are easier to adjust than one heavy outfit that cannot be changed.
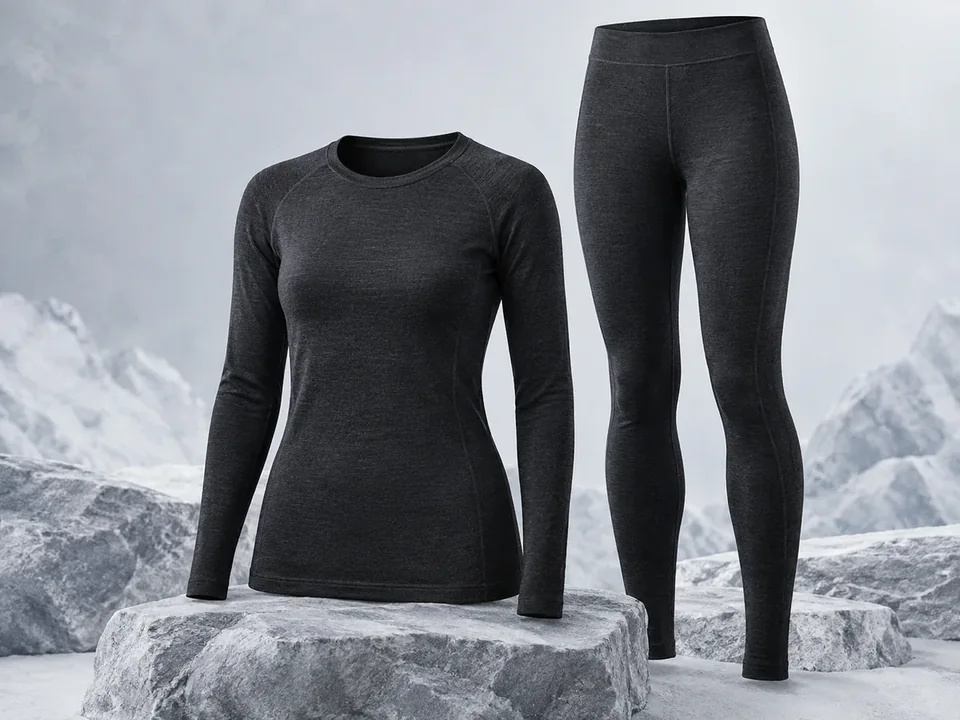
1 · Next to your skin
Base layer
Wear a wool or synthetic thermal top. Add thermal leggings under your walking trousers when needed. Avoid cotton as the main layer against your skin.
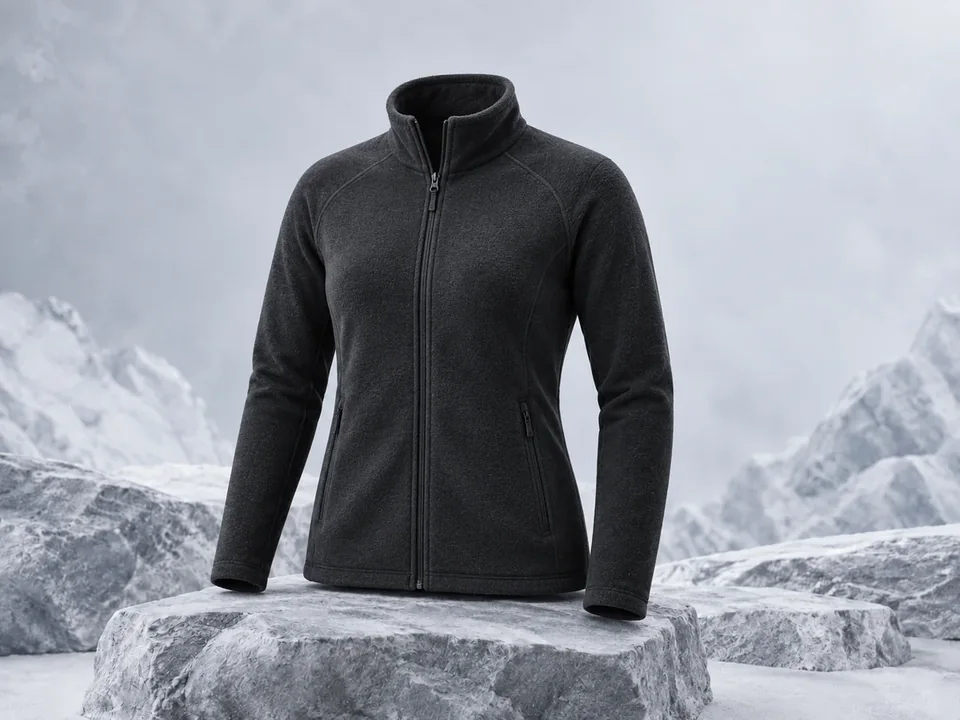
2 · Adjustable warmth
Mid-layer
A fleece, wool sweater or light insulated jacket supplies warmth. Choose a fit that still lets you raise your arms, bend and walk comfortably.
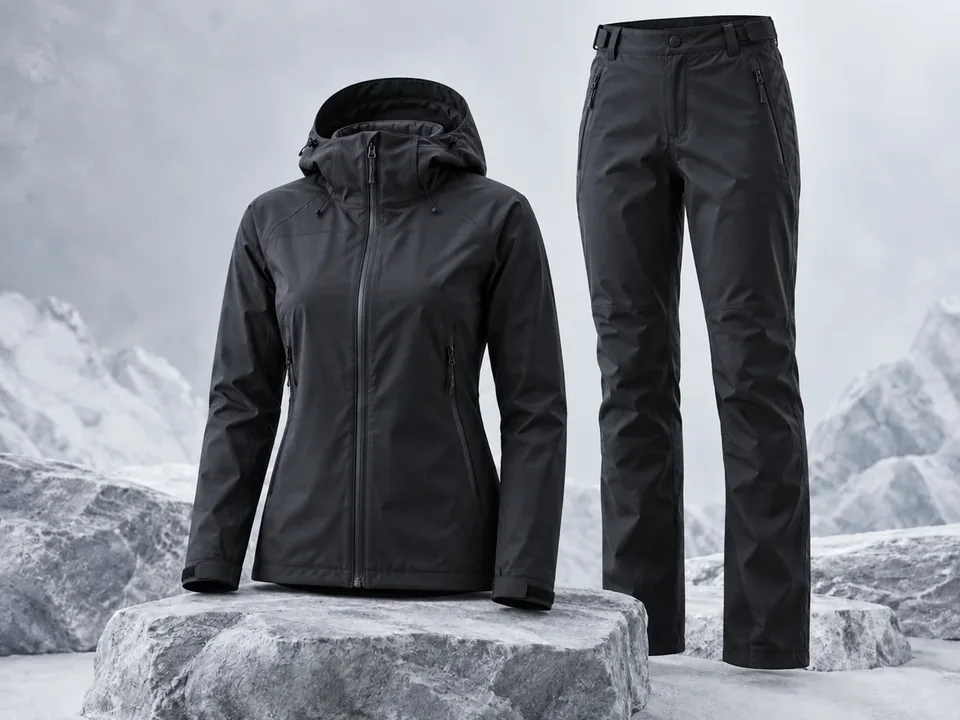
3 · Wind and water
Outer layer
Finish with a waterproof jacket and trousers. They should fit over your insulation without pulling at the shoulders or restricting your stride.
Have the extra layer available rather than burying it in a large suitcase. Adjust your clothing when the guide allows a stop, and tell them if you are becoming uncomfortable instead of waiting until the end of the walk.
Jacket and trousers
Protect more than your upper body
Wear a proper outer shell
A waterproof jacket should cover your insulating layers and have a hood you can adjust. Check the cuffs, zip and hem before leaving. Your waterproof trousers or overtrousers should allow you to step up and bend without catching around your boots.
Do not treat jeans, cotton joggers or leggings worn alone as substitutes for weather protection. Jeans hold moisture and dry slowly. Thermal leggings can be useful underneath suitable outer trousers.
The easy-to-miss item
Waterproof trousers
A good jacket does not keep your legs dry. Put your trousers beside your boots when packing so they are not the item left at the hotel.
Try the complete outfit on once. You should be able to crouch, sit in a vehicle and move your legs comfortably.
A down or synthetic insulated jacket can be part of your middle layer. Check whether it also provides weather protection; insulation and waterproofing are not the same thing.
Small items, big difference
Hands, head and feet
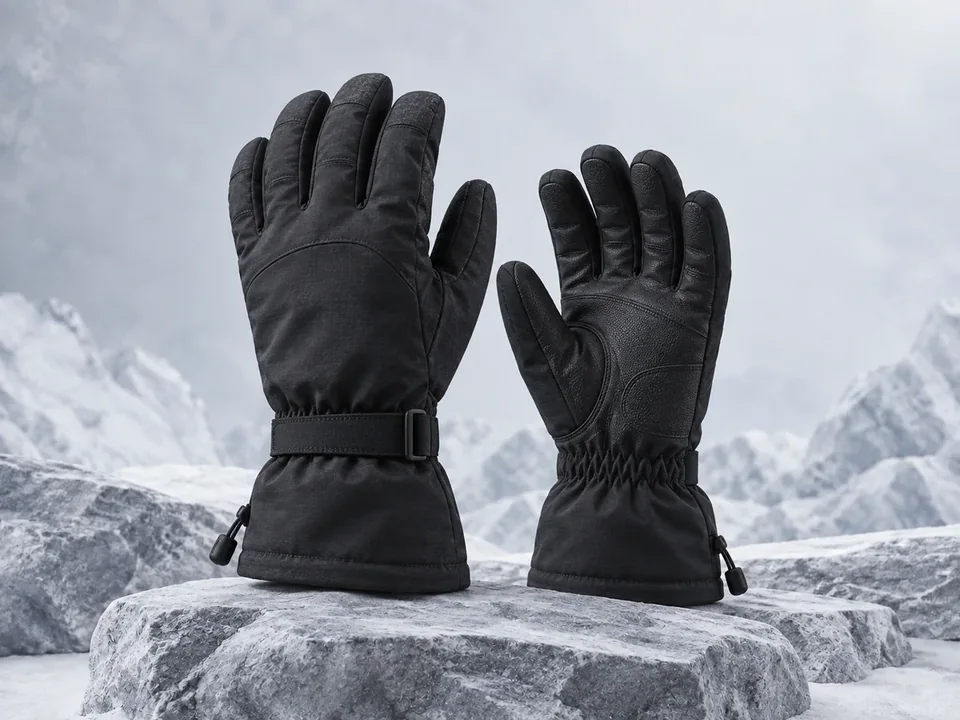
Gloves
Bring warm gloves and a dry spare pair. Water-resistant or waterproof outer gloves are useful around wet ice. Thin liner gloves can make camera controls easier, but should not be your only hand protection.
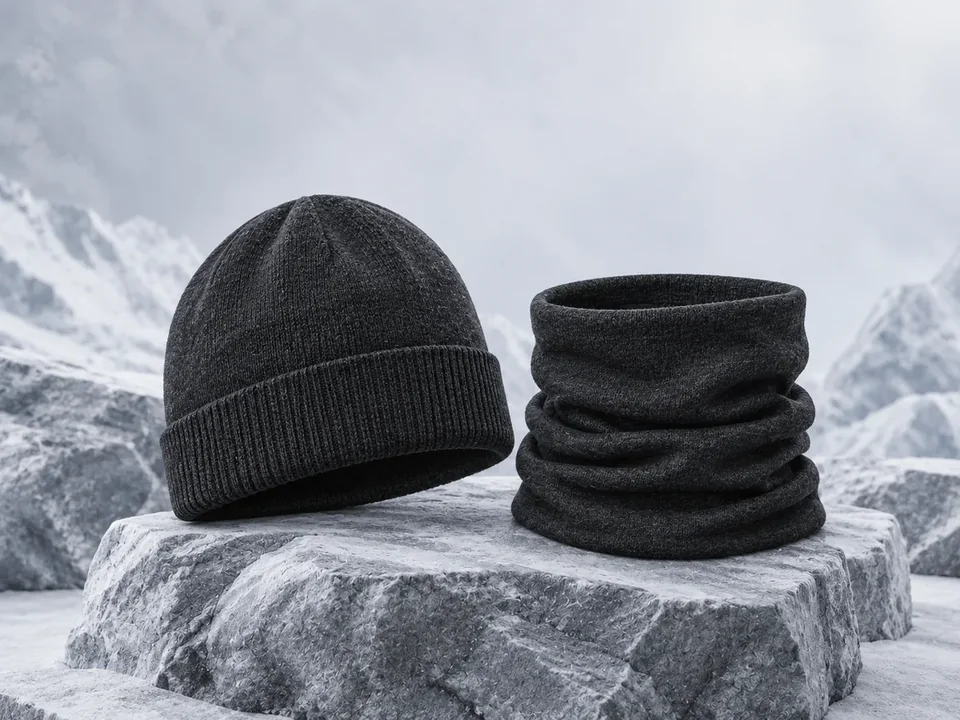
Hat and neck warmer
Choose a close-fitting beanie that sits beneath a helmet. Avoid a bulky pom-pom that affects the fit. Keep scarves and loose ends clear of straps and equipment.
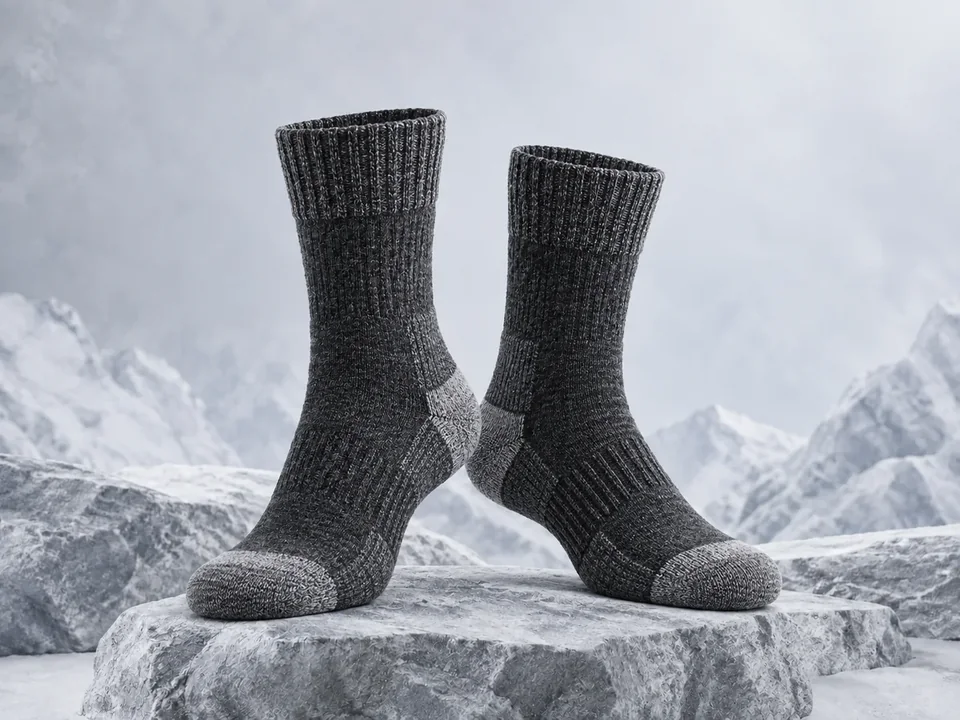
Socks
Wear comfortable wool or synthetic hiking socks. Try the socks and boots together: squeezing in extra thickness is not a good solution if it makes your boots tight. Keep spare socks dry in your bag.
The helmet is safety equipment, not a replacement for a warm hat. Ask the guide to check the fit over your headwear, and keep the equipment on whenever instructed.
Personal clothing vs technical equipment
What is included?
The tours do not all list the same kit. Use the individual product’s inclusions, then follow the guide’s instructions for the route on the day.
Bring yourself
- Thermal layers and insulation
- Waterproof jacket and trousers
- Suitable hiking boots and socks
- Gloves, a warm hat and personal items
Check your tour includes
- Helmet and the specified traction equipment
- A headlamp, where the product lists one
- Any other glacier equipment required for its route
- Fitting instructions and guidance from the operator
Equipment in the featured local tours
Blue Ice Cave & Super Jeep
All safety gear, including helmet & crampons
Saved listing: 2026-09-18. Confirm before travel.
Original Ice Cave Tour
Spikes and Helmet
Saved listing: 2026-09-18. Confirm before travel.
Vatnajökull Ice Cave Tour
All gear for entering the ice cave safely
Saved listing: 2026-09-18. Confirm before travel.
Crystal Cave & Super Jeep
All necessary safety gear provided (helmet, headlamp, glacier crampons)
Saved listing: 2026-09-18. Confirm before travel.
There is no need to buy a separate crampon system just because you are taking an ice-cave tour. Check the booking inclusions first, bring compatible footwear and let the guide choose how the provided equipment is used.
Compare the complete tour details before booking; this equipment summary does not replace each supplier’s current requirements.
Keep it manageable
Pack a small daypack
Useful to carry
- One extra warm layer, with spare gloves or socks in a dry bag
- Water and a small snack, following the operator’s instructions
- Essential personal items and any medication you need
- A charged phone or compact camera and a clean lens cloth
- Sunglasses for a bright day on snow or ice
Leave the bulk behind
Large handbags, oversized camera kits and loose accessories make moving as a group less convenient. Bring what you can carry comfortably and keep both hands available when the guide asks.
For a two-day trip from Reykjavík, check the luggage allowance separately. The overnight bag and the small bag taken toward the cave serve different purposes.
Eat and organise your belongings before check-in rather than counting on a food stop during the excursion. Ask where snacks can be eaten and take all packaging back with you.
Practical photography
Keep your camera kit simple
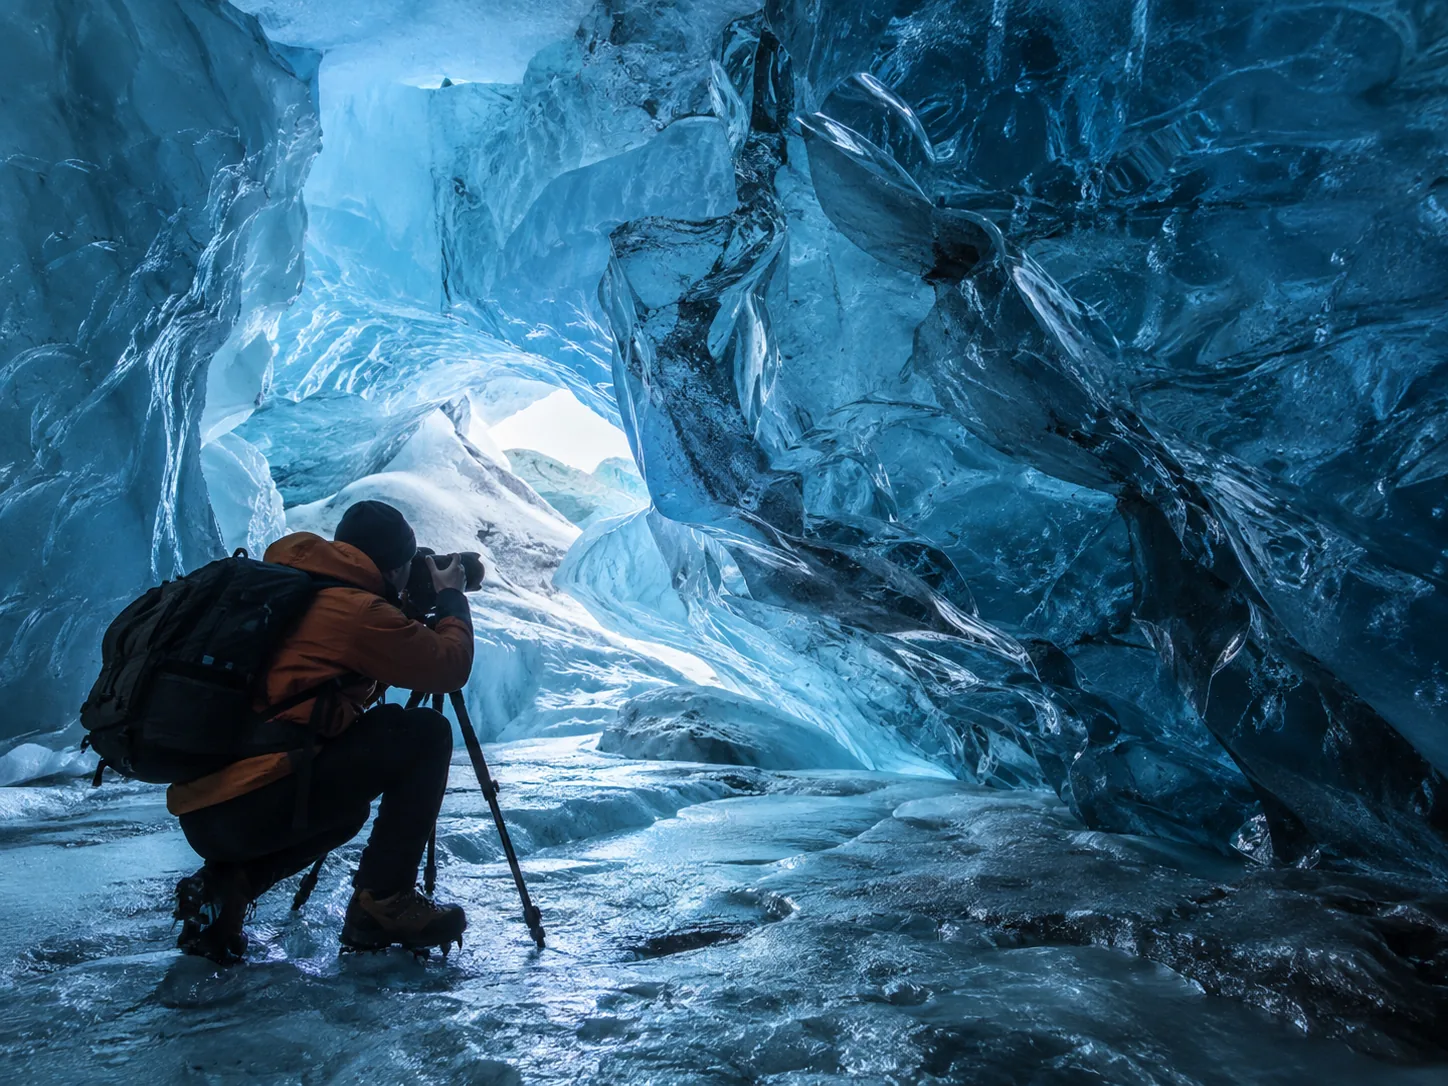
Ready when the group stops
Carry your phone or camera where it is easy to reach without removing all your gloves. Pack charged batteries, keep a lens cloth accessible and protect the equipment from dripping water.
A compact setup is easier to carry than several lenses and a large tripod. Check tripod permissions for the tour you book rather than assuming that every group has space for one.
Your clothing should support the activity, not just the photograph. Keep your helmet and other safety equipment on as instructed.
Read the Photography Guide for low-light settings and planning your shots.
Family preparation
Check children’s fit first
Start with the tour’s minimum age and footwear requirements, then prepare the clothing. Children need properly fitting boots, headwear and safety equipment; a smaller body does not mean an adult item will necessarily adjust to fit.
Before booking
Confirm the child’s age, boot size and ability to manage the expected walk. Do not buy specialist clothing before checking participation rules.
Before leaving
Try the full outfit together, including socks and gloves. Pack a spare pair of gloves and an extra layer that is easy to reach during the tour.
Being old enough to join is different from being comfortable with the cold, the terrain and the group pace. Travel with Kids explains the practical questions to ask.
Before you leave
Your packing checklist
Tick items as you pack, then check the forecast and your booking instructions. The checklist is a packing aid, not an assessment of whether a tour is safe to run.
For the road journey, use Getting There. For the arrival map and local check-in area, use Location and Directions.
Before departure, consult Weather and Conditions and the operator’s latest message. Allow time to resolve missing clothing or unsuitable footwear rather than arriving at the last minute.
A few final details
FAQ
Can I wear sneakers?
Plan on the hiking footwear your operator requires. Soft trainers may not provide the support, weather protection or fit needed for the supplied traction equipment. Confirm uncertain footwear in advance.
Are jeans suitable?
Avoid jeans as your glacier clothing. Choose outdoor trousers with waterproof protection, adding a thermal layer underneath when appropriate. Denim becomes uncomfortable when wet and takes time to dry.
Do I need waterproof trousers too?
Yes, include them in your packing plan rather than relying only on a jacket. Waterproof overtrousers can go over suitable walking layers, provided you can still move comfortably.
Should I buy my own crampons?
Not simply for this booking. The featured products provide their stated glacier equipment. Confirm what your tour supplies and bring the boots required for it; do not substitute your own system without agreement.
Can I hire boots at the departure point?
Only when the exact operator and product offer it. Confirm availability, sizing and the collection point before travelling. Another company’s rental policy does not apply to your booking.
Is a headlamp always supplied?
Do not assume so. Some listings explicitly include one; others describe their safety equipment more generally. Use the equipment summary above and confirm anything unclear with the supplier.
How many layers should I wear?
Start with a base layer, insulation and a waterproof outer layer, then adjust the warmth to the forecast, the amount of walking and your own comfort. There is no single temperature or fixed jacket thickness suitable for every departure.
What changes for an early- or late-season trip?
Do not drop waterproofs or suitable boots just because your trip falls outside midwinter. Make the final packing decision using the forecast and your operator’s current instructions, not a photograph from another season.